Building a Custom Batch Job
ℹ️ Overview This page provides a comprehensive example of building and implementing a Custom - Batch type job scheduler, which is designed to process large volumes of records asynchronously.
Step 1: Create the Apex Class
You can easily generate the groundwork for your custom batch scheduler job using the built-in generator.
- Navigate to the Breezz App → Breezz Setup → Scheduler Jobs → Generate Scheduler Code.
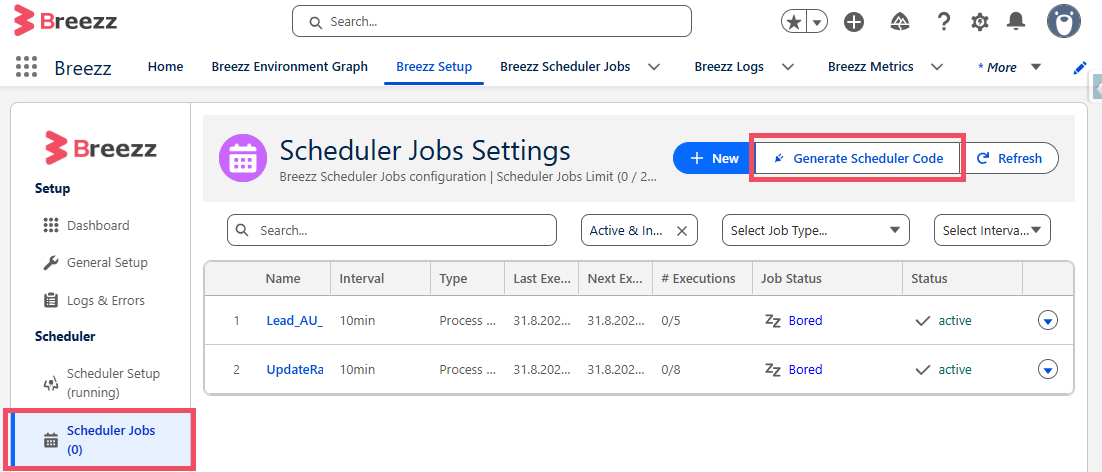
- For Job Type, select Scheduler Job that run in the Batchable process, provide a class name, and copy the generated code to your IDE or Developer Console.
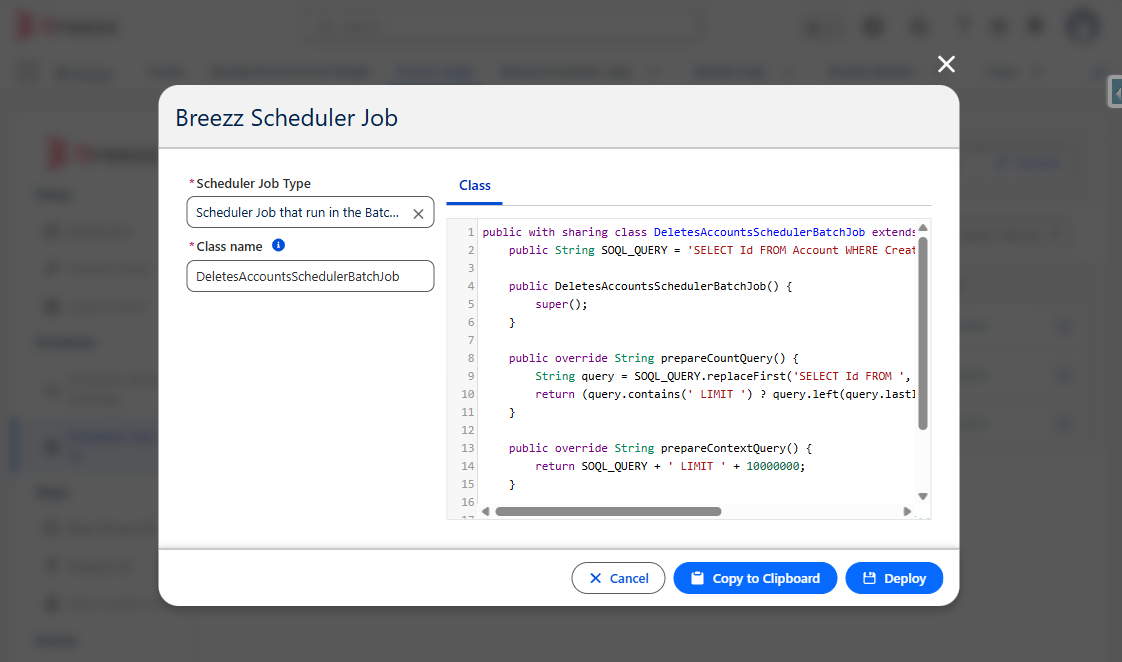
Let’s implement a job that will be executed on a weekly basis to clean up the database by removing Account records created 40 weeks ago.
public with sharing class DeletesAccountsSchedulerBatchJob extends forvendi.SchedulerQueryableBatch {
    public String SOQL_QUERY = 'SELECT Id FROM Account WHERE CreatedDate = N_WEEKS_AGO:40';

    public DeletesAccountsSchedulerBatchJob() {
        super();
    }

    public override String prepareCountQuery() {
        String query = SOQL_QUERY.replaceFirst('SELECT Id FROM ', 'SELECT Count() FROM ');
        return (query.contains(' LIMIT ') ? query.left(query.lastIndexOfIgnoreCase(' LIMIT ')) : query) + ' LIMIT 1';
    }

    public override String prepareContextQuery() {
        return SOQL_QUERY + ' LIMIT ' + 10000000;
    }

    public override void execute(SObject[] records, forvendi.ModificationContext ctx) {
        ctx.addToRemove(records);
    }
}
Class Requirements:
Any class used as a Custom Batch Scheduler Job must extend the forvendi.SchedulerQueryableBatch class and define the following three methods:
prepareCountQuery(): Returns a query to check if there is at least one record meeting the processing criteria. The query is limited to1because Breezz internal logic only needs to verify if theCount()value equals1to determine whether the batch processing should be triggered.prepareContextQuery(): Returns the primary query that retrieves all the records to be processed by the job.execute(): Contains the actual logic to be performed on the records returned by theprepareContextQuery(). In the example above, the records are marked for removal.
Step 2: Create the Test Class
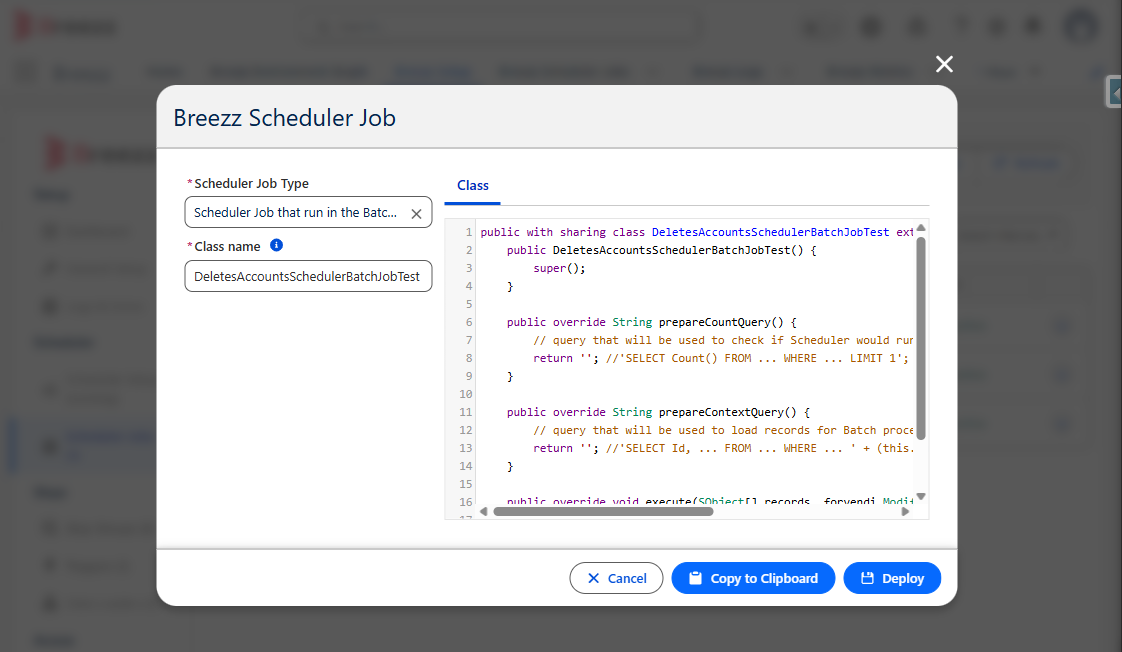
Ensure your custom logic is covered by a test class.
@IsTest
private class DeletesAccountsSchedulerBatchJobTest {

    @TestSetup
    static void testSetup() {
        // Initialize Breezz setup.
        // Provide a forvendi.BreezzPlugins.BaseApexPlugin implementation to use public classes in Breezz.
        forvendi.BreezzApi.TESTS.init('BreezzPlugin');
    }

    @IsTest
    static void when_ExecutedAccountRecordsGenerator_expect_GenerateAccounts() {

        // Execute logic inside the class that extends forvendi.SchedulerQueryableBatch
        Test.startTest();
        forvendi.BreezzApi.SCHEDULER.run('DeletesAccounts');
        Test.stopTest();

        // Load records and assert expectations
        List<AggregateResult> results = [SELECT Count(Id) amount FROM Account WHERE CreatedDate = N_WEEKS_AGO:40];
        forvendi.BreezzAPI.TESTS.assertErrorLogs();

        Assert.isTrue(results[0].get('amount') == 0);
    }
}
Step 3: Register the Scheduler Job
After successfully deploying your classes, you must configure the Scheduler in the application.
- Navigate to Breezz Setup → Scheduler Jobs and click New.
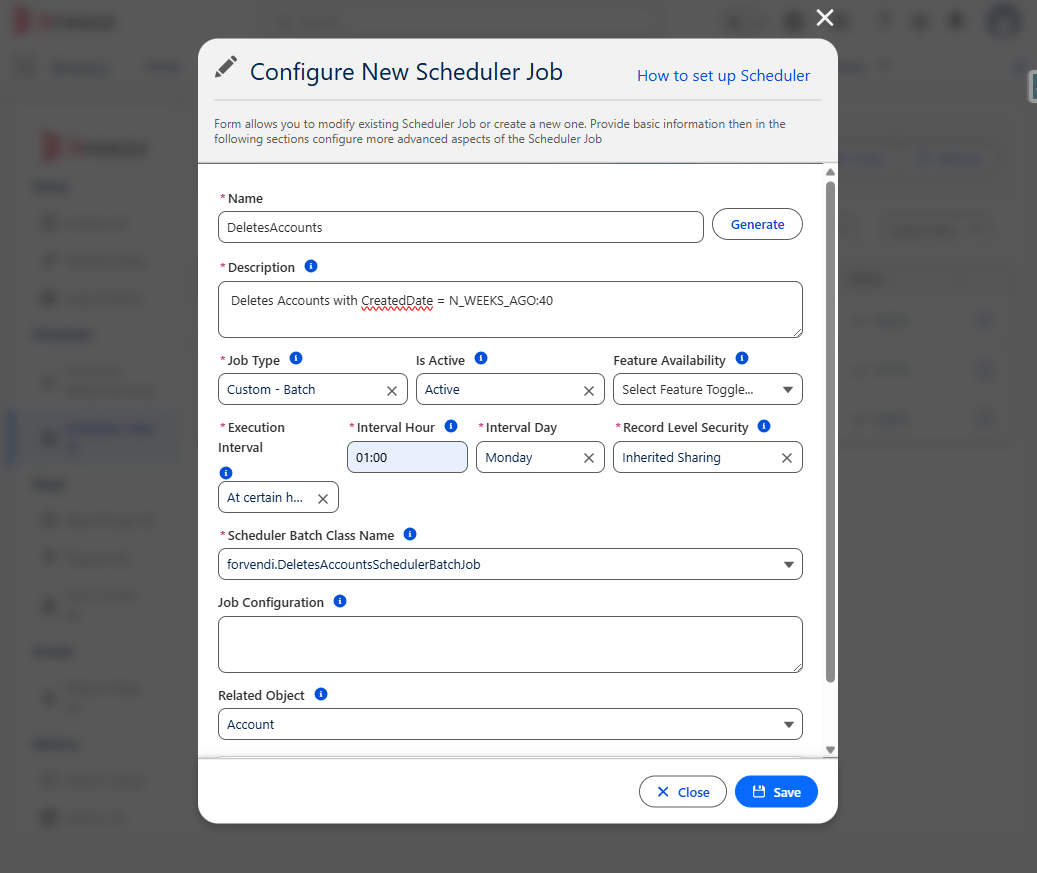
- Populate the configuration form with the following details:
- Name: Provide a clear identifier for the Scheduler Job.
- Description: Enter an explanation of the job’s functionality.
- Job Type: Select Custom - Batch.
- Execution Interval: Define when the scheduler should execute (e.g., Weekly).
- Apex Class: Select the class you created that extends
forvendi.SchedulerQueryableBatch(e.g.,DeletesAccountsSchedulerBatchJob).
- After filling out all required fields, click Save.
Step 4: Verify the Scheduler Job
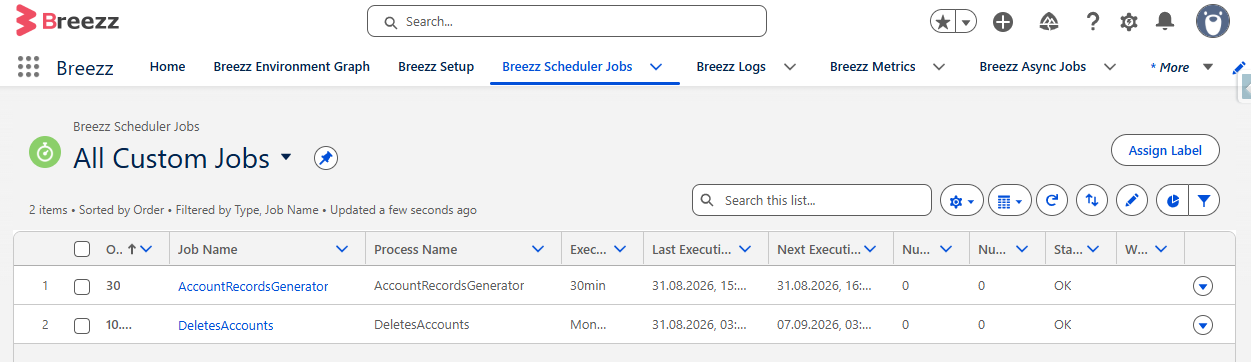
To confirm that the scheduler was created successfully, navigate to the App Launcher → Breezz → Breezz Scheduler Jobs → All Custom Jobs.
You should see your new Scheduler record listed here: